Setting up a Discord Bot
In order to actually recieve notifications for new emails, you need a discord bot.
Creating the discord bot
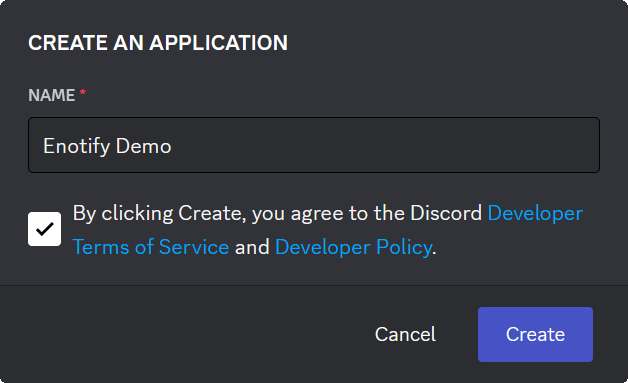
Navigate to the Discord Developer Portal > Applications and press New Application.

Give your application a NAME, accept the Discord Developer Terms of Service and Developer Policy, and press Create.
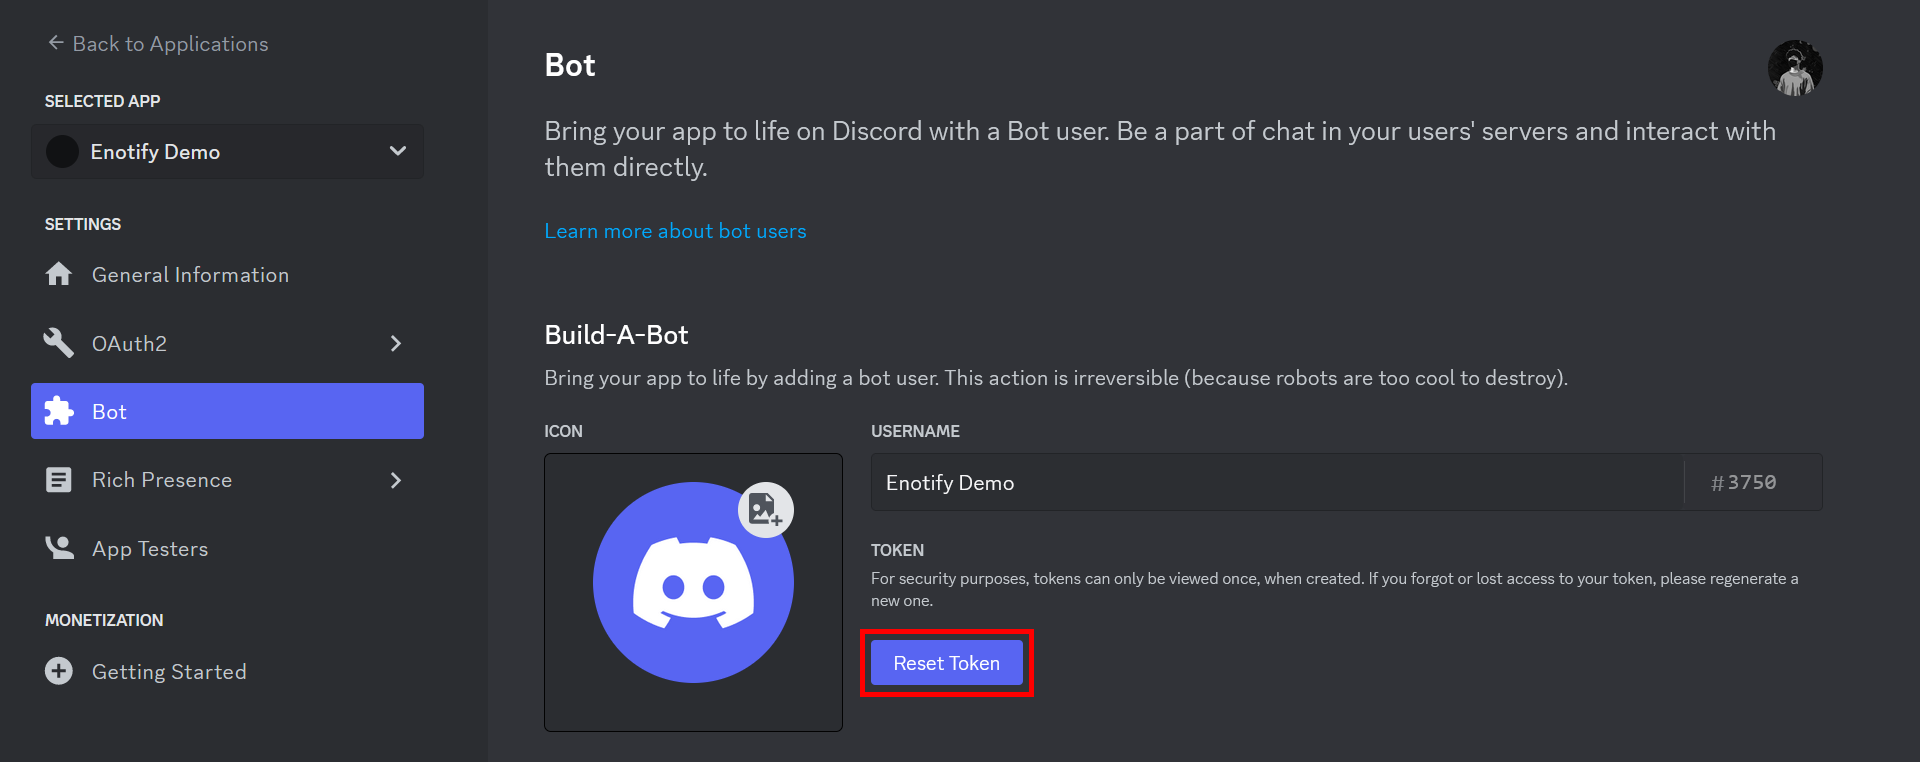
Resetting the discord bots's token
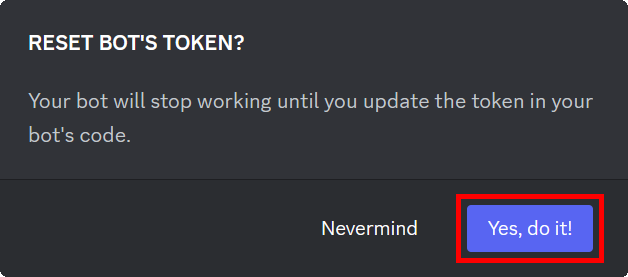
Navigate to the Bot tab on the sidebar and press Reset Token. Press Yes, do it! to confirm. Enter your 2FA code it prompted.
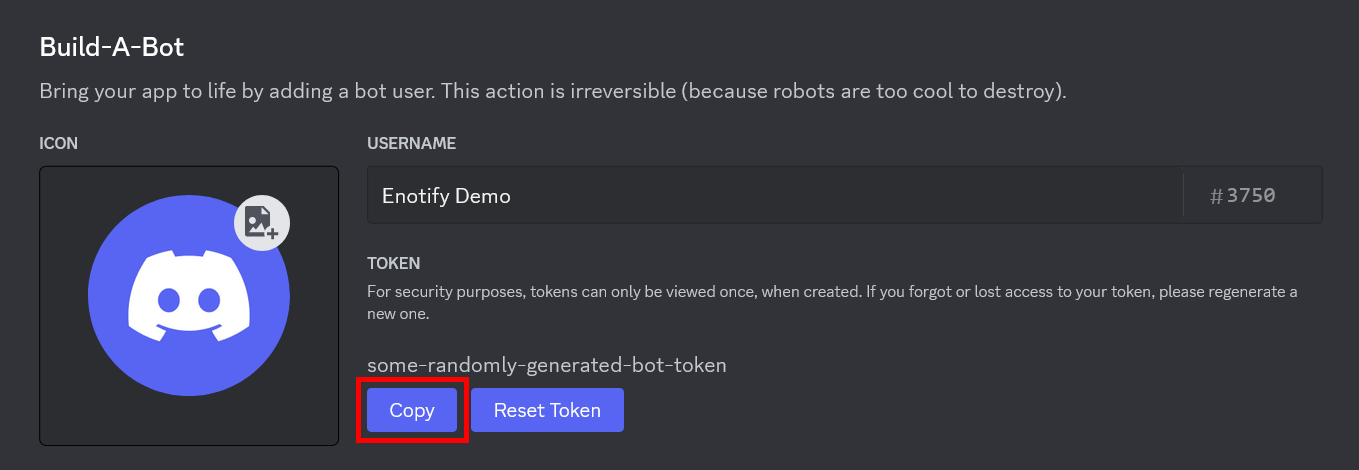
Copy the newly generated bot token, open the .env file in the cloned repository's files and paste the copied token as the bot_token environment variable value.
![]()
Setting up OAuth for the discord bot
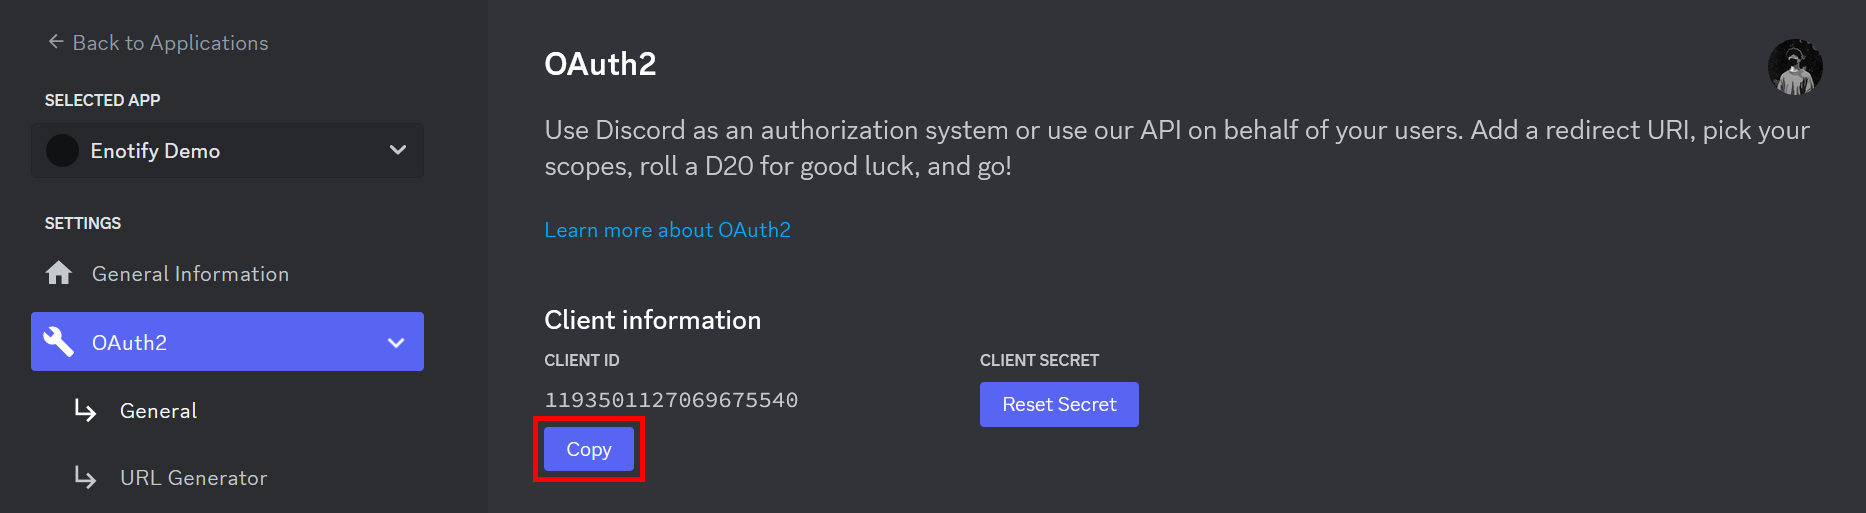
Navigate to the OAuth2 > General tab on the sidebar and press the Copy button below CLIENT ID. Open the .env file in the cloned repository's files and paste the copied client ID as the bot_client_id environment variable value.
![]()
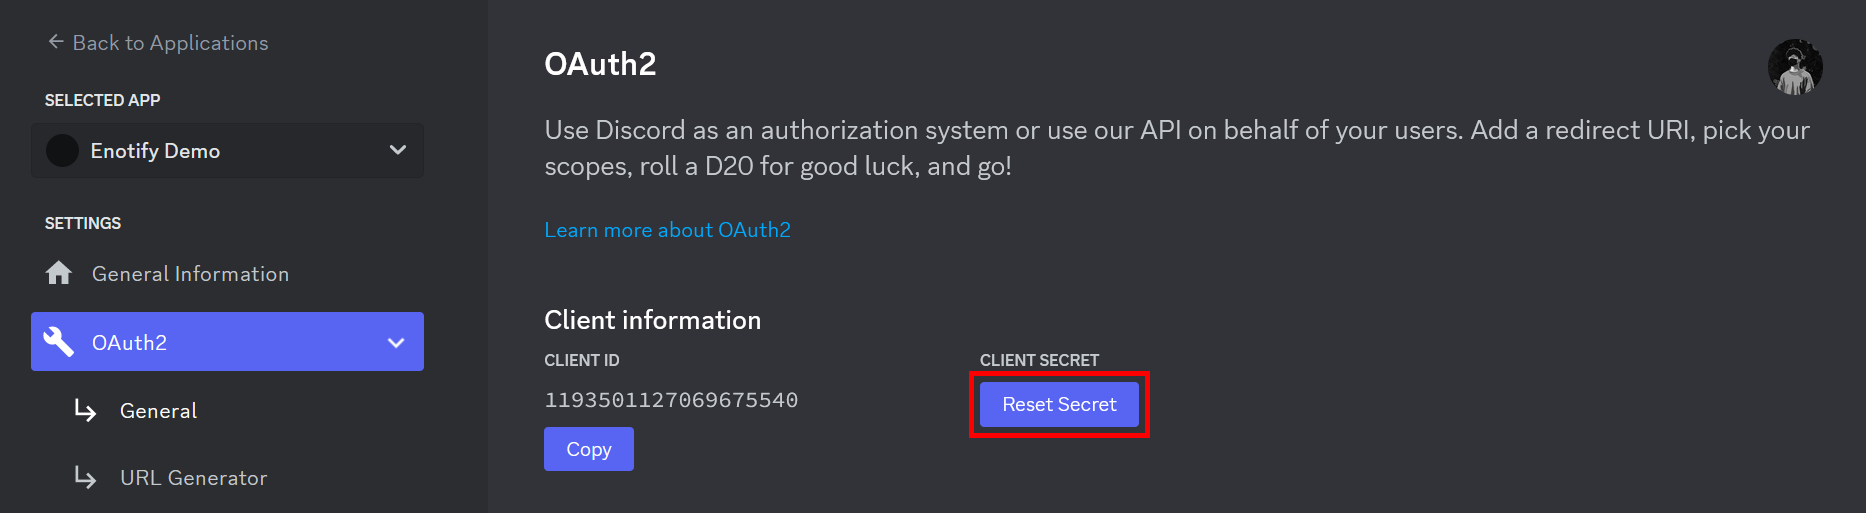
Now, reset bot's CLIENT SECRET by pressing the Reset Secret button. Similarly to resetting the bot's token, press Yes, do it!, and enter your 2FA code if prompted.
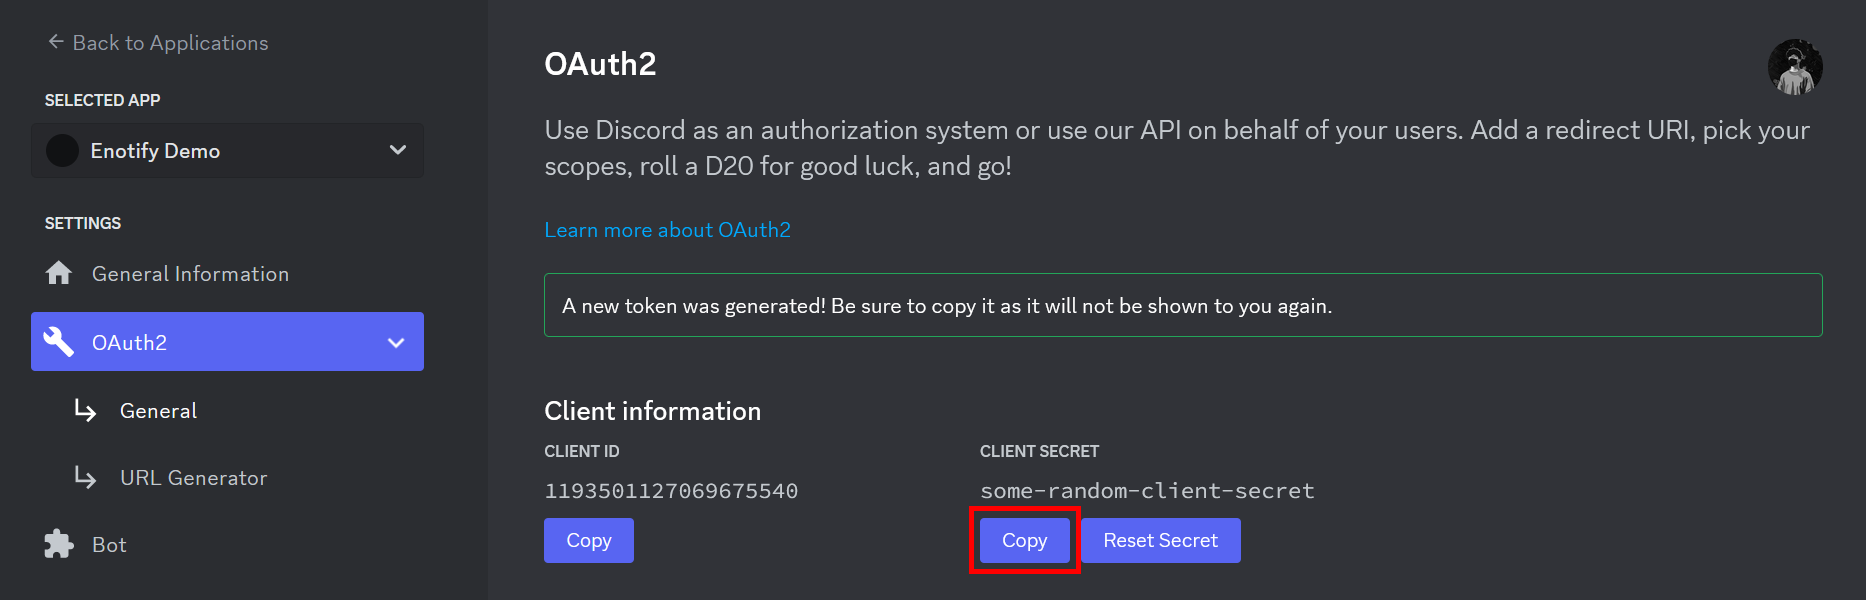
Press the Copy button below your newly generated client secret in order to copy it to your clipboard. Open the .env file in the cloned repository's files and paste the copied client secret as the bot_client_secret environment variable value.
![]()
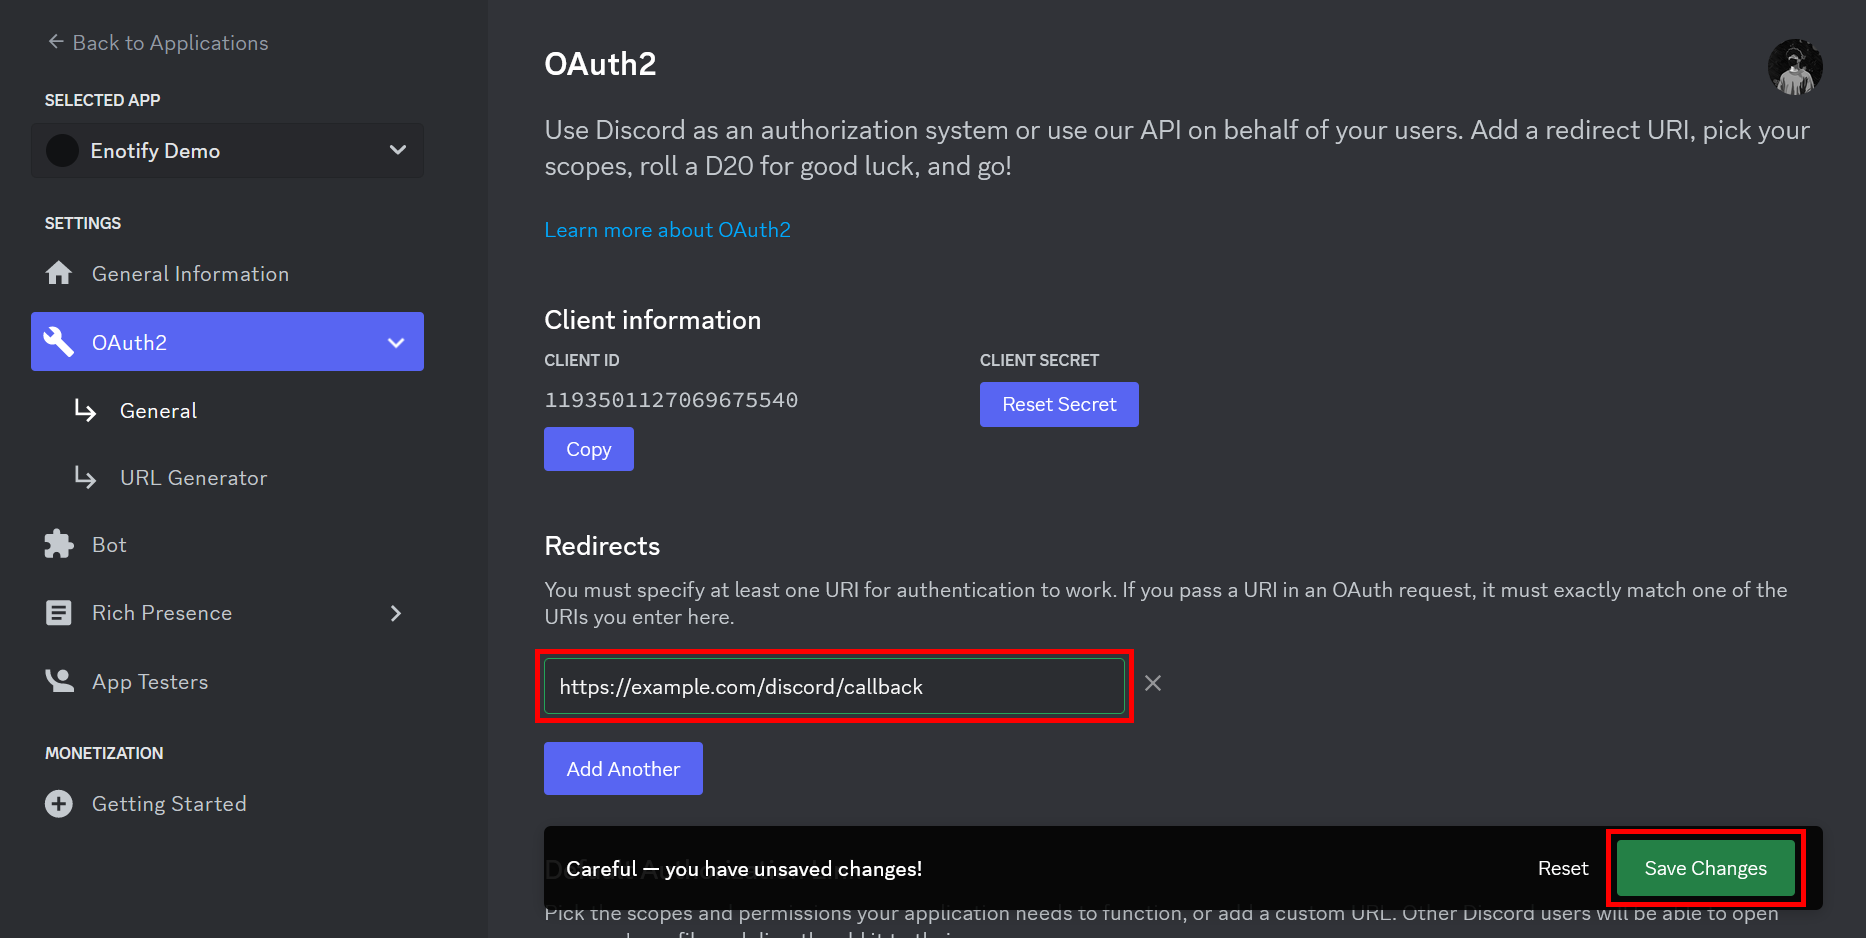
Next, you must add a redirect URI for your instance of Enotify's website. In order to do so, press the Add Redirect button.
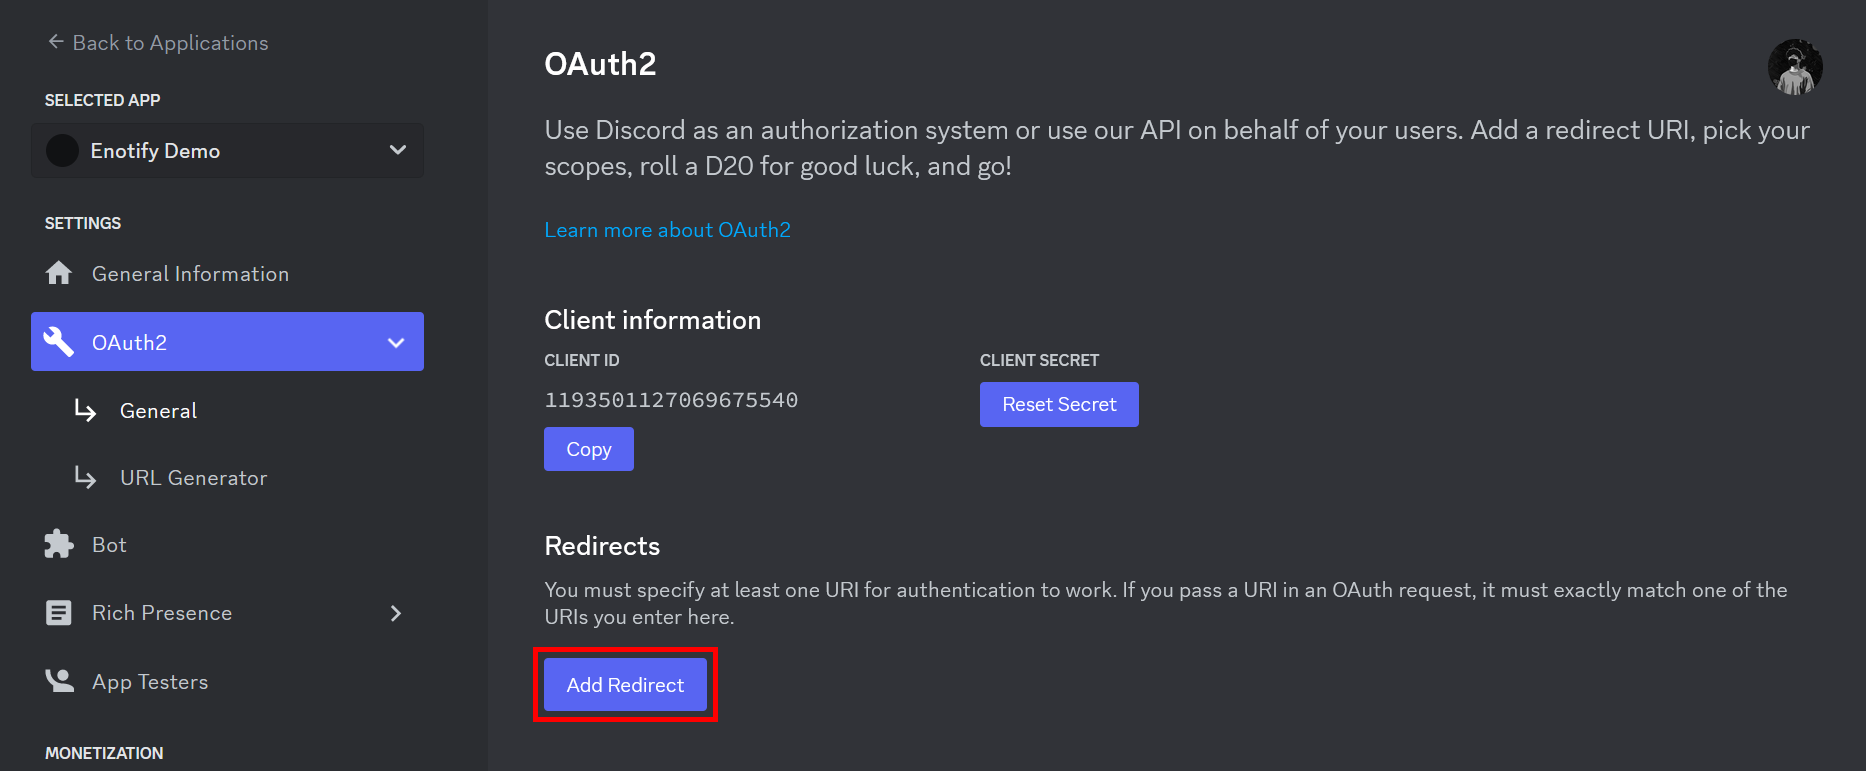
Enter the base URL you will be hosting your instance of Enotify's website on, followed by the /discord/callback route. In this example, we are using https://example.com as our base URL, so we will add the https://example.com/discord/callback redirect URI. Once you have entered the correct redirect URI, press Save Changes to confirm.
Congrats! Your discord bot is now all set!